Wednesday, 14 September 2011

Thanks Tags

I recently did some fundraising on my knitting blog - and in return for donations to Parkinson's research I said I'd give people a pair of the yarn-y earrings I took to making a couple of weeks ago.


The fundraising is over and now I'm busy packing up the earrings to send out to the very generous donors.  Here are the first 6 pairs...another 15 to go!


My Martha Stewear 'thanks' punch is getting  a real workout!  And the Black Magic Coredinations is perfect - I've teamed each pair of earrings with a card with a matching 'core' colour.

I think they look quite sweet and I hope the recipients agree!

Tuesday, 30 August 2011

When an Old Obsession Meets a Blossoming One

You may recall that at the QVC Craft Event  I didn't visit the beading make and take stations and decided that was 'just as well' as I didn't need ANOTHER craft hobby?

Didn't work.

My friend the Caked Crusader (the best cake blog in the universe)(really)(don't visit if you're hungry) pointed out some really sweet yarn ball earrings and as a lifetime knitter I decided to have a go at making myself (and her) a pair.


They were reasonably successful, but not quite as tidy or professional looking as the originals.  (There are also really sweet necklaces and other knitterly jewellery bits and pieces on the site.)

Inspired by the mini needles and little balls of yarn I found myself making these.


And I fear a new obsession has been born....


Saturday, 27 August 2011

Martha Stewart Stamp Around the Page - Review

Thursday was Craft Day on QVC and launched the Martha Stewart Stamp Around the Page system in the UK. I was intrigued and  fell in love with the snowflakes in particular so parted with my £15.72 and when it arrived this rainy Saturday morning I knew what I had to do!

The bottom line:
I really like it!  Even though I wasn't successful with lining up one of the stamps the others worked really well and I can see potential for borders, corners and accent shapes.

What you get:
The set consists of a base unit where you line up the paper, a block where you position and ink the stamp before placing it onto the base unit for stamping and 4 sets of stamps (each with a border and corner) and their corresponding guide sheets.  (In the US they got 6 sets! Jealous!  I really want the butterlies and ferns.)(And they got ink! But I'm less jealous about that.)

 There is also a sheet of instructions which I ignored.

How it Works:
In order to create a border around a page, the dimensions need to be a multiple of 2 (so 2x2, 4x4, 2x4, 6x6 etc).  Accurate measurements are pretty important as if you are out the design won't line up correctly.

You place the guide sheet for the selected design into the base unit (it slides into grooves on the base unit pretty easily) and then slide the paper into the base unit, lining up the top right hand corner with the corner marked on the base unit.

Now you can start stamping!  You take the corner stamp and position it so that the corner marked on the stamp is lined up with the corner marked on the stamping block.  Ink it up as usual and then place the bock into the centre of the base unit.  There are little foam pads that stop the stamp from touching the paper so you can check the paper alignment one last time and then  press press down on the block.

The images are cut deep (or raised high) and the foam pads and block mean that even when the stamp was messy (I'm not the tidiest crafter) there was no ink transferred to the paper.

I used pigment inks for everything I did today (mostly from VersaFine, one or two colours from Papermania).

I found it easy to get even pressure with the block and generally got good results (and when I didn't it was because I was rushing).

After you've stamped the four corners you replace the corner stamp with the border stamp on the block - again lining up the stamp triangles with the block triangles), line up the paper using the guide sheets and then stamp the border sections as required.

This was my first attempt - not bad for straight out of the box!  It seemed a bit faff-y when watching the demos but to be honest I didn't find it any more so than regular stamping which was a relief.

My second attempt was my beloved snowflakes and here I ran into trouble because I didn't line up the first corner correctly.  Lesson learned! If the corner isn't right there isn't much hope for the whole border lining up neatly.  It's not a disaster - but not quite good enough!

I did a couple of other snowflake borders (taking more care with my corners) and really think this is a stamp set I'll use a lot.  Shame about my bad stamping of 'Joy' in the centre of the 4x4 block!


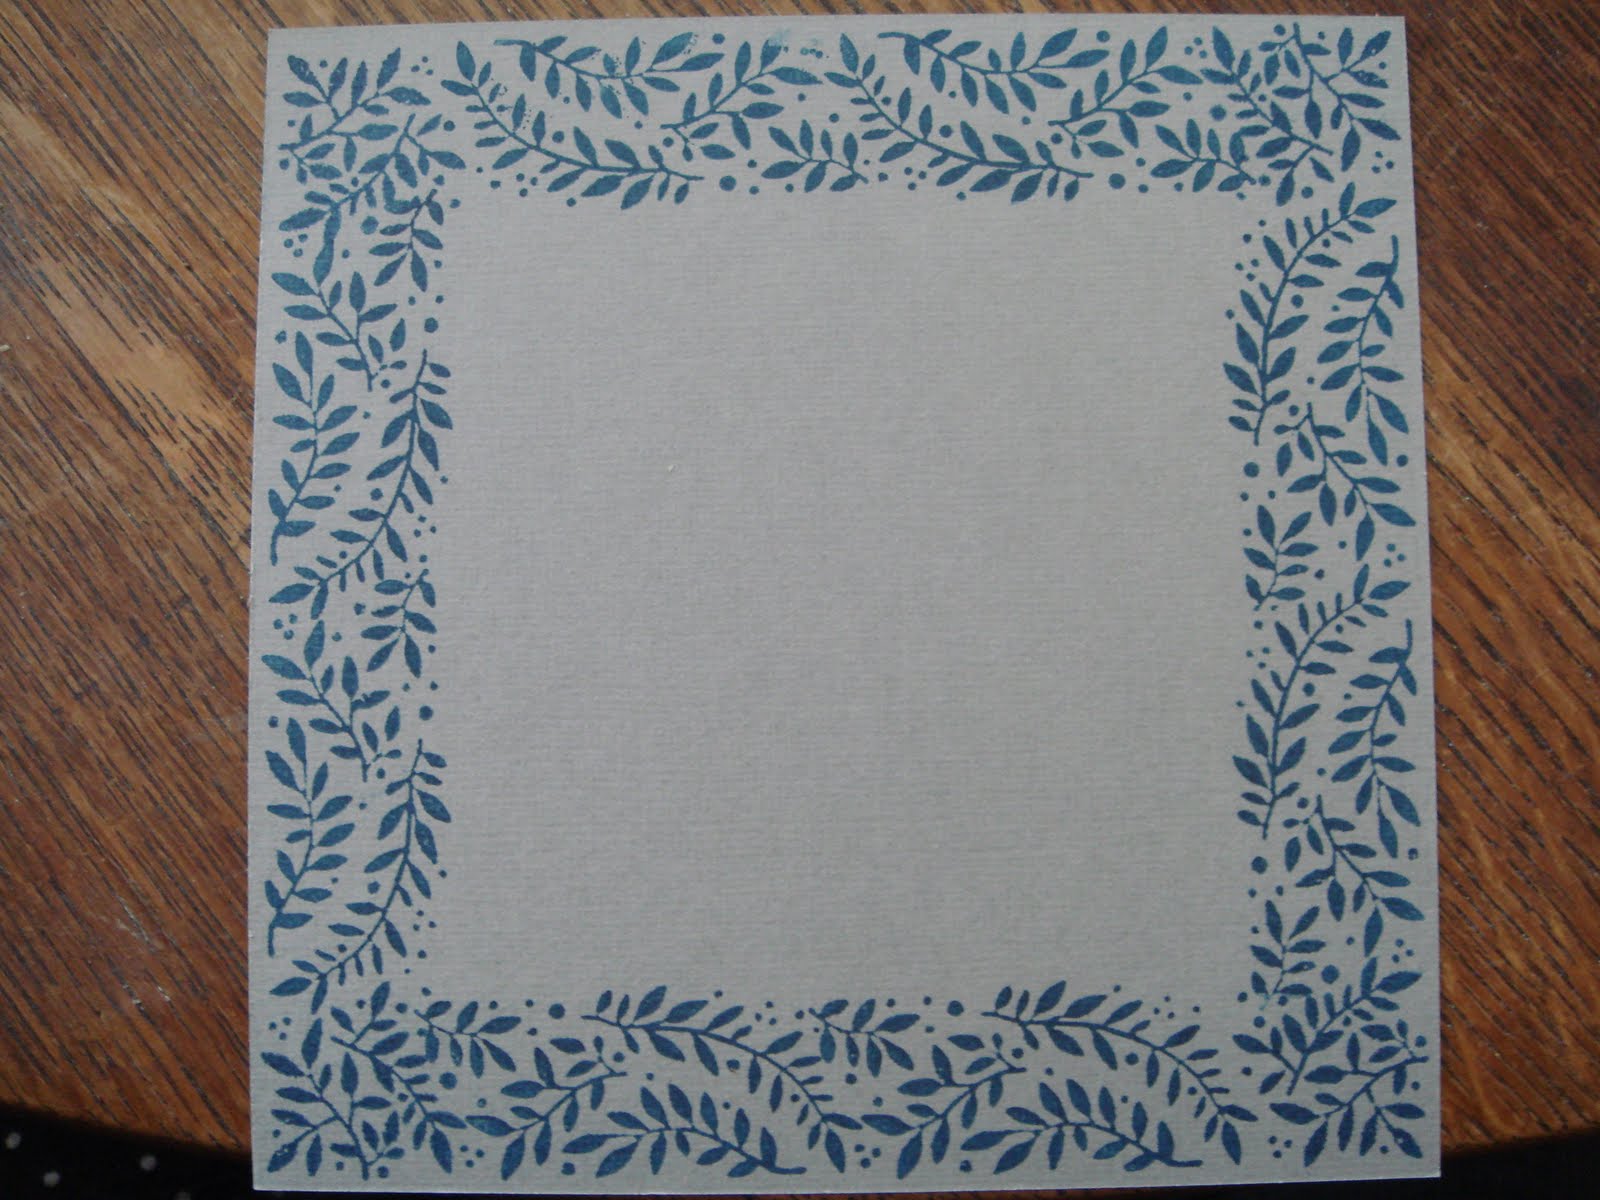
The third pattern was easy enough and  surprised me as I hadn't expected to like it as much as I do!


The fourth pattern was a failure.  Entirely unusable, and despite a few more attempts I wasn't able to line up the borders satisfactorily.


I had sort of expected that as I think lining up that sort of intricate pattern where there are lines that MUST LINE UP is never going to easy. The other patterns are ok with 'close enough' - but this one is definitely not.  I will play with it some more another day and see if practise makes perfect!

I tried a few  more patterns and expect I'll try a few more before the day is out!


And with a bit of embossing powder we can get stuff like this. (Should have used superfine for the sentiment it's a bit gloopy!)


Top Tips:

  • Cutting the paper to size accurately is very important - if the paper isn't the right size (a 2 inch increment) the pattern won't line up.
  • Placing the stamp on to the block accurately is also critical -- it isn't difficult or faffy but you do need to pay attention.
  • Lining up the paper is easier if you are looking at the  unit from above rather than from the front.
  • A small piece of repositionable adhesive on the back of the paper can help keep the paper in place - particularly for really small pieces of paper (like a 2x2).


Saturday, 20 August 2011

QVC Craft Event

A few months ago I had never bought anything from a shopping channel.  I've clearly made up for it since then though as I was one of the lucky recipients of an invite to QVC's annual (I think it's annual) craft event.  I put the invite to the side and changed my mind frequently about whether or not I'd go.  Then I heard rumours of goody bags, and that seemed to tip the scales. (How shallow am I?)

The event was held at QVC head office in Battersea.  In order to accommodate as many attendees as they could, there were actually four sessions over two days.  We (a group of 60 - 70 attendees) were the final group - and big credit to the QVC staff and demonstrators that they managed to hide any boredom/fatigue they must have been feeling by that time really well.

I was by myself so really appreciated that everyone (staff and other attendees)  was so friendly.  On arrival we were corralled into a little waiting area where I met two lovely ladies from Lancashire who were QVC experts.  Every item of clothes, jewellery and make up appeared to be from a QVC brand.  I asked if they were saving money by not being in front of the television - they said yes, but figured they'd make up for it tomorrow!  They were very funny and while we waited they filled me in on the QVC gossip and what to expect.

When we went up to the event area we each got a goody bag, and a little cupcake booklet with details of each of the 'make and take' tables and a couple of raffle tickets.

I had a good time at each of the tables I was able to visit.  I did a bit of experimenting with a Stix-2 glue gun (who knew how much fun you could have making embellishments with glue!) and made a sweet card which sadly I spilled coffee on this morning!

At the second table we created a simple paper decoration with Amy Shaw using Craftwork Cards.


I had a good laugh making a mini photo memory book with Marion Emberson using American Craft papers.  A simple idea - the mini book is modelled on a matchbook and pretty straightforward to make.  It would be a great project for children as well, and a nice way for them to get into scrapbooking.


Apparently Martha Stewart is branching out into yarns and so we got to play with a little flower maker and some Martha merino yarn.  Unfortunately I wasn't able to squeeze in the two jewellery tables (probably just as well as I don't think I can afford another hobby!) or the Imagination Crafts table - which also looked great.

Running alongside the make and take room was a longer workshop led by Lindsay Mason.  Being a fan of any inky fun I made sure to fit that in. We used a lot of new (to me) techniques with Distress Stains and Inks, and it was my first attempt at creating a scene using a number of stamps.  I wouldn't say my final product is great - but I learned so much it was definitely worthwhile.

The day wrapped up with a raffle which had quite a few lovely prizes - but sadly I was not one of the lucky winners.

I really enjoyed the afternoon and meeting so many friendly crafters.  It was nice to hear a bit about the channel's future plans and I was happy to hear that there will be a scrapbook show in October! Overall I got a good feeling about the future of craft at QVC!