Friday, 7 September 2012

25 Years...

My sister Kim and her husband Jeff, and my brother Barry and his wife Joanne celebrated their 25th wedding anniversaries this  year.  25 years - that is something to celebrate.

We had a little party when we were all together in August and I wanted to make them something special to commemorate the occasion.

I had really enjoyed making the frame at Leonie's workshop and decided to start with that.  I ordered two of the cardboard frames and did the base decoration using pretty much the same method we'd used at the workshop.  To personalise the background I used Craft Artist to print recent photos of the happy couples on the patterned paper I was using.  I tore the paper, pasted it all together, did some random stamping and painting, and finished it off by stamping their names in the corner.

For each frame I cut out a picture of the happy bride and groom on the day and made it glossy with triple thick embossing powder.  I put a small box behind the picture before attaching it so that it would be raised about 1/4 inch from the back of the frame.


Then I started planning how I would finish decorating the whole thing....

Well, I say 'planning' but really it was about two weeks of trying different ideas and layouts and embellishments before I finally settled on the final configurations.  I don't know how other people do these things but I tend to try a layout, and then ponder it a bit.  Then I move things a little, take some stuff off, put other stuff on....and then ponder a bit more.  I then repeat this a lot.

My original idea was to have a tag with '25 years' on it, and the key hanging off of it.  And I thought that the bottle would end up sitting in the recess of the frame.

But after trying a few variations the tag just wasn't working for me - and my best friend pointed out that a picture of the kids was  essential. (She also tried to convince me to add a dog biscuit to Barry and Joanne's but I just ignored her on that one!)

So I found photos of the girls, cut them out in Craft Artist and put them on neutral backgrounds.  I put the pictures into Memory Keepers frames. I didn't like the original shiny coppery colour so I added some pewter gleam to tone it down a bit.


The keys are Tim Holtz embellishments - and I love them.  They are lovely, heavy proper keys.  One says 'Heart' and the other 'Memory' - unfortunately that's a bit tricky to see in these photos.


The bottle sitting in the centre with the wedding picture was all wrong and so I needed a new way to incorporate it - because I had become really really attached to the idea of including the wedding date as a message in the bottle.  But how????

While thinking that through I decided the frame needed a bit of colour to finish it off - and after a bit of faffing around I ended up creating the fabric heart and buttons on the wire.


Of course the string of buttons needed some sort of anchor and it suddenly seemed obvious that the bottle should be held on the frame with the wire.


I went through about a thousand different lace strips, in a thousand different placements.  With bows, without bows... I tried them all before settling on this simple cream lace.


And I lost count of the number of times I put the corners on and took them before FINALLY deciding I liked them and gluing them down.

I wrapped them in plain tissue paper tied up with a bright purple ribbon and I'm pleased to say they were really well received on the day.

Phew.

Wednesday, 5 September 2012

Cricut Flowers

This summer Gen and I had a lot of fun playing with a couple of new Cricut cartridges -- Flower Shoppe and Giant Flowers.

It started when I was inspired by a card Mel Heaton had on her blog.  I liked it so much I recreated it pretty much as it was - just different papers and sentiment.


And that began the obsession.  Gen and I started with Flower Shoppe.  We chose a few pieces of paper that we thought would work well together and then using the Cricut Craft Room added random flower shapes to cut.

We inked and embossed the shapes and then started layering them - and pretty soon we had this.  


We added sentiments and backgrounds to make a few cards.


I particularly like this birthday card Gen did for her friend Harriet.

Gen took some of the flowers home for her room and the others sit ready for any card/flower emergency.  A couple were used over the summer for birthday cards that I forgot to photograph!

Using Giant Flowers we made these -errrrr  - giant flowers!! The rose (which is the smallest) is about 15 inches wide.


We cut all the pieces using plain white paper and then inked, sprayed and misted to give them some colour before assembling.

You can of course make smaller versions of these but we decided to 'go big' for our first outing.  The flowers  have decorated my bookcase and really brightened up this grey rainy English summer.

Sunday, 2 September 2012

More Birthday Cards

..still catching up on this year's crafty activities....

I think I've confessed here before - but I'll say again -  I am so rubbish at birthdays that most years I fail to get out one real card and don't even always manage e-cards. This year I've been determined to do better.  I've been hampered by the fact that I don't actually know when everyone's birthday is (more shame) but I've done a few.  (I have to admit I also missed a few - but I'm hoping to improve on that next year!)

It's an odd coincidence that my older brothers and sister all married partners who were born in the same month - within about 7 days - as theirs and that's helped enormously with the summer birthdays.  Particularly as I decided that 'combo' cards were ok.

So in June I made this card for my brother Al and his with Kathy.  I started with a photo of them take a couple of years ago on the beach at a family reunion.  The original photo is lovely (gorgeous rocks and water in the background), but I wanted to make a more cartoon-y card so I used Craft Artist to cut them out and place them in front of a green patterned paper.  


The rest of the card is pretty straightforward, some Spellbinders for cutting the photo, Cuttlebug to emboss the background and birthday hats cut and glittered by hand.

The pennants were made using Anna Griffin stamps, stamped onto patterned paper, cut and strung together.

I so liked the result that I used the same approach for my sister Kim and her husband's Jeff card.  In fact the photo I used was taken on the same day as Al and Kathy's.

The background was a number of pieces of Core-dinations card (left over from Gen's mini book!) that I pasted onto a piece of paper before embossing and sanding the lot.  Birthday hats were cut using the Cricut this time (Celebrations).


The recipients liked them  - and didn't seem to mind too much that I'd bundled the greetings!


Friday, 31 August 2012

A Special Birthday

Last year when god daughter Gen turned 17 and I made the exploding box card  I did wonder how I was going to top it when she turned 18.  It wasn't easy but I think I just about managed it.

I decided that a mini scrapbook that she could fill with photos of her family and friends to remind her of her life at 18 was the way to go.  With that in mind - I took out every single bit of crafting stuff I own and went crazy!

The pages were cut on my Cricut - from the Elegant Edges cartridge - each one was actually 3 (or 4 for the covers) pieces of heavyweight card (cereal boxes mostly!).  The inside pages were then covered with Core-dinations card. (also cut on the Cricut).


I decorated the covers using the techniques we'd been playing with at Leonie's June workshop. The title 'Gen @ 18' was cut (multiple times and pasted together) using Printing Press (my current favourite font cartridge) on the Cricut.  A beautiful gold ribbon ties the front and back together keeping all her memories safe inside.


I started with a little note to Gen and then gave her lots of pages for photos....


Starting of course with family.  She has a big family so I gave her four little mini books for the photos - two are fold out accordion style, kept close with some lovely ribbon, and the other two mini books fit in the little envelopes on the page.


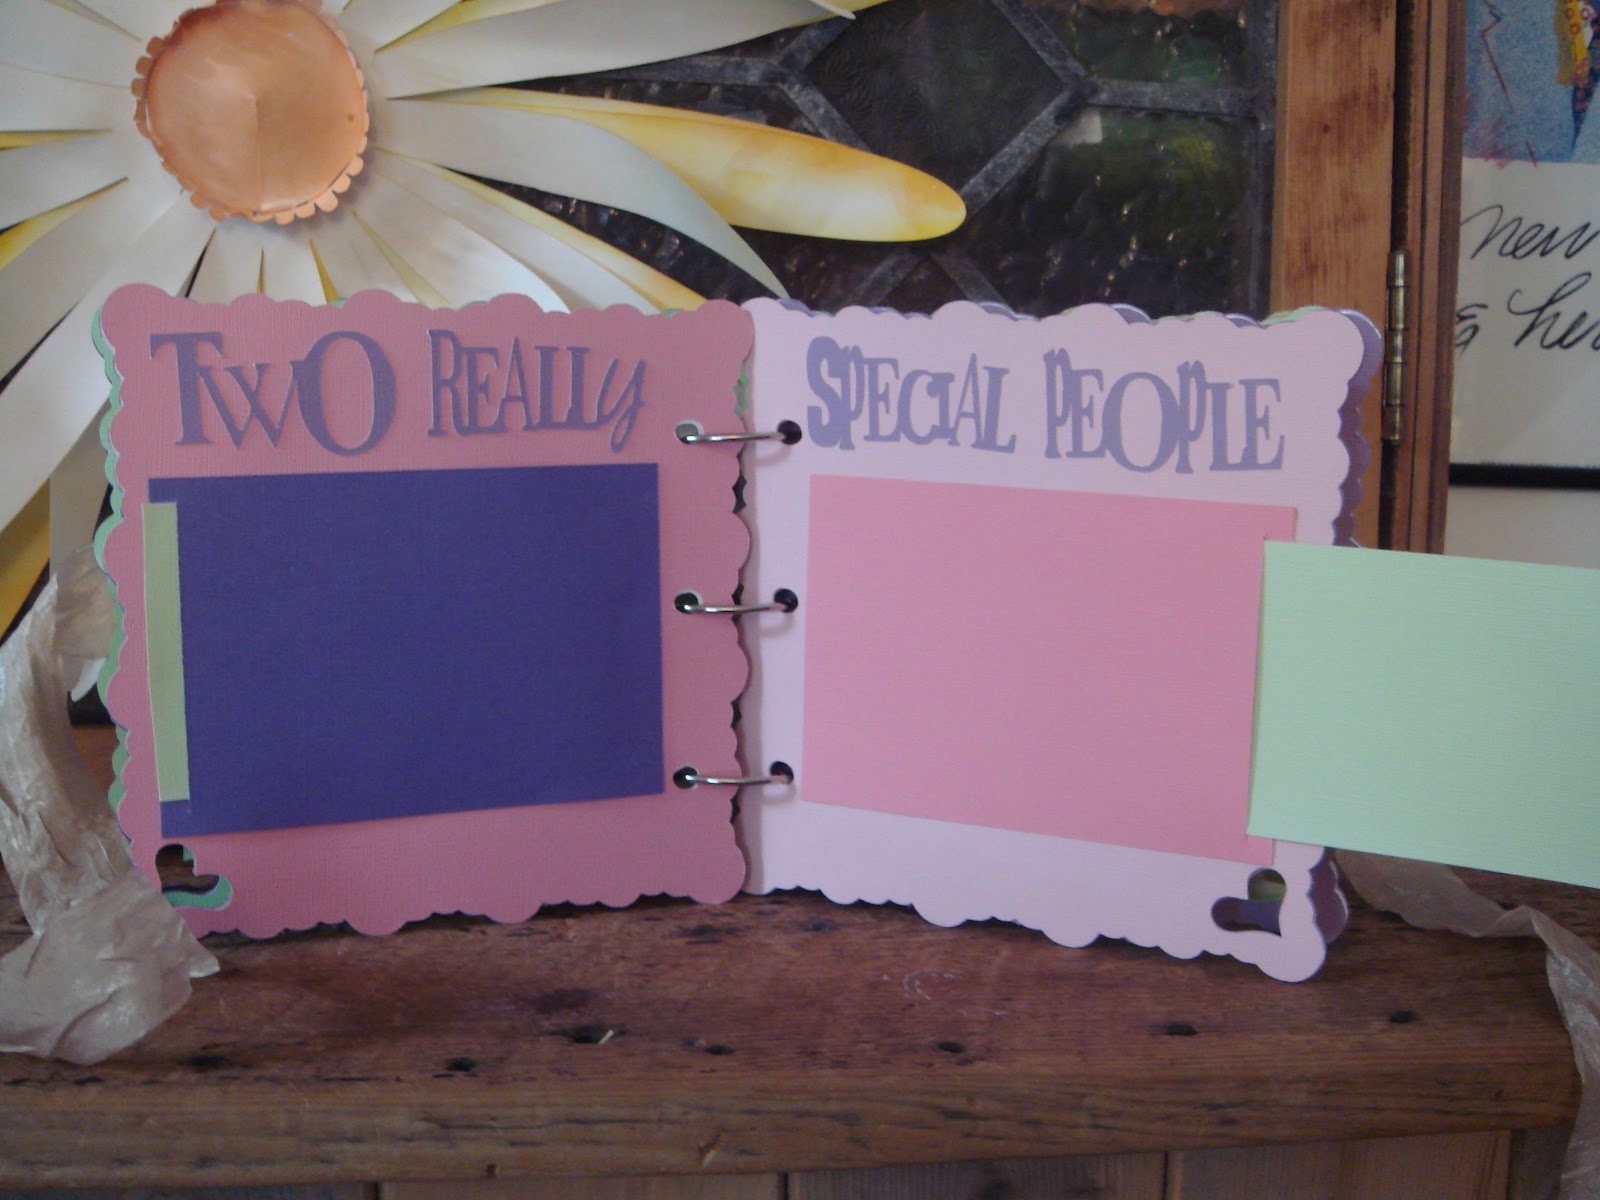
 These pages were designed with two special people (as it says!) in mind.  I added slide out pages so Gen could add a bit of journalling.


Being a social butterfly Gen has a million friends so along with 3 frames for her best-est mates there are three mini books for friends from school, Orford (where she spends most summers) and more!


 I've had a packet of mini wooden clothes pins for ages and was very excited to be able to use them on this 'hanging out' page.  The photo mats can be removed from the clothes pins easily, so Gen can put a photo on the front and do a bit of journalling on the back.


And finally a big pocket envelope where she can keep tickets and other bits and pieces.....


I had a lot of fun putting the book together and Gen loved it.

However I have warned her that for her 19th it's back to flat cards. Maybe with a flower on it. Maybe.